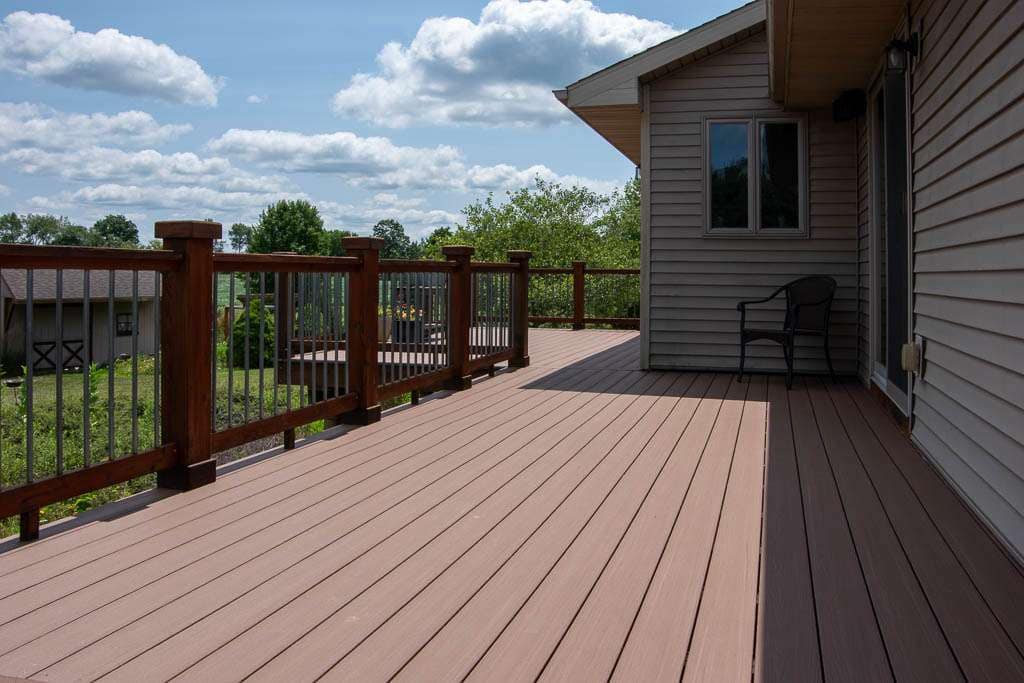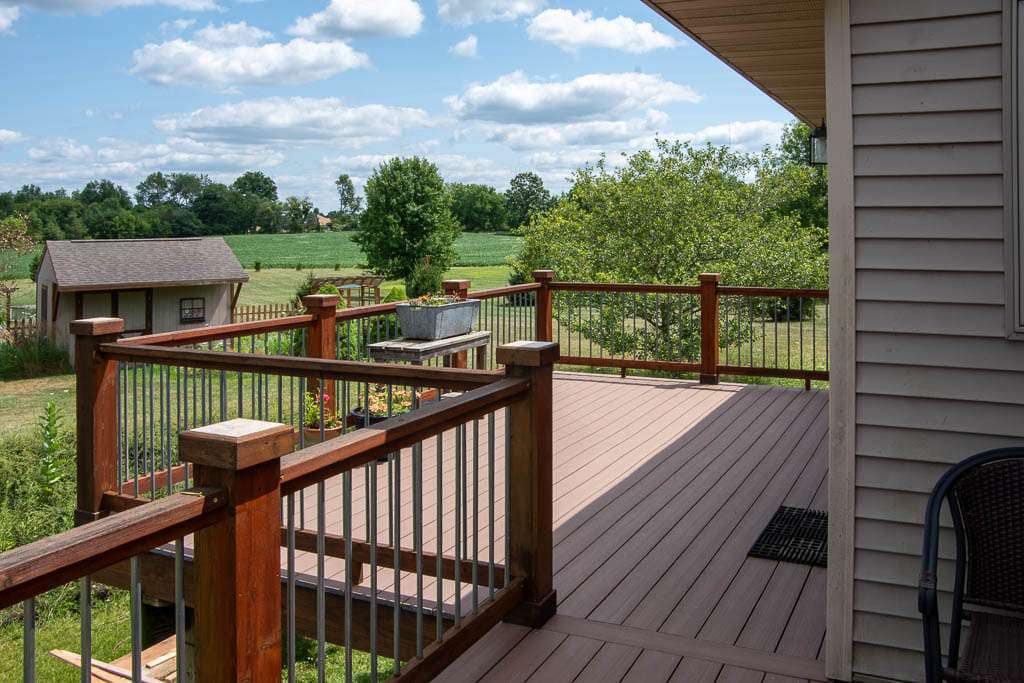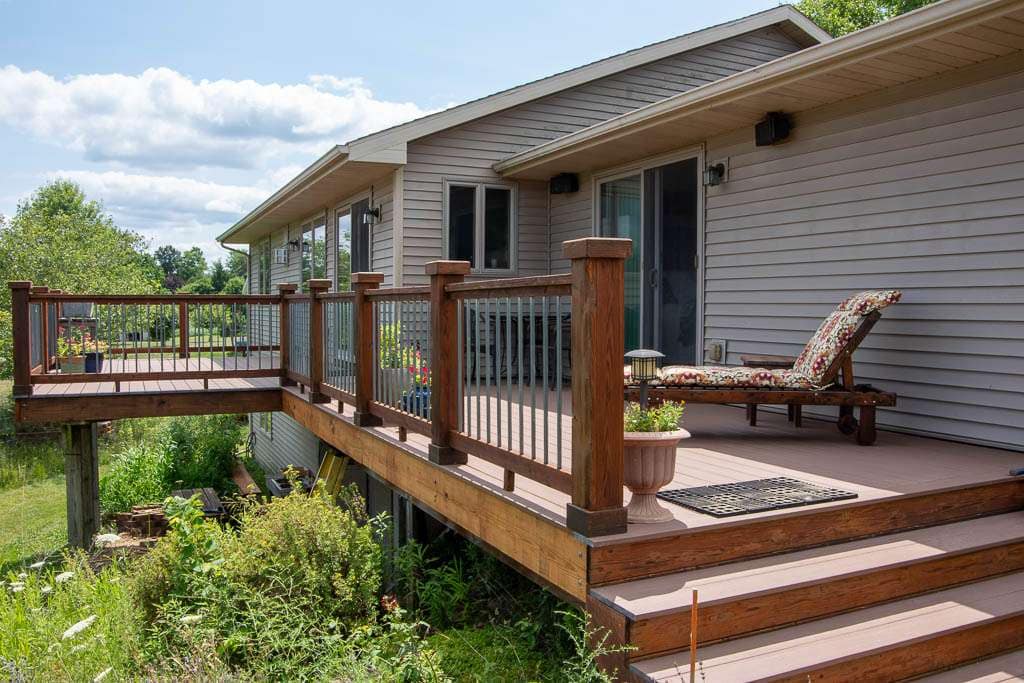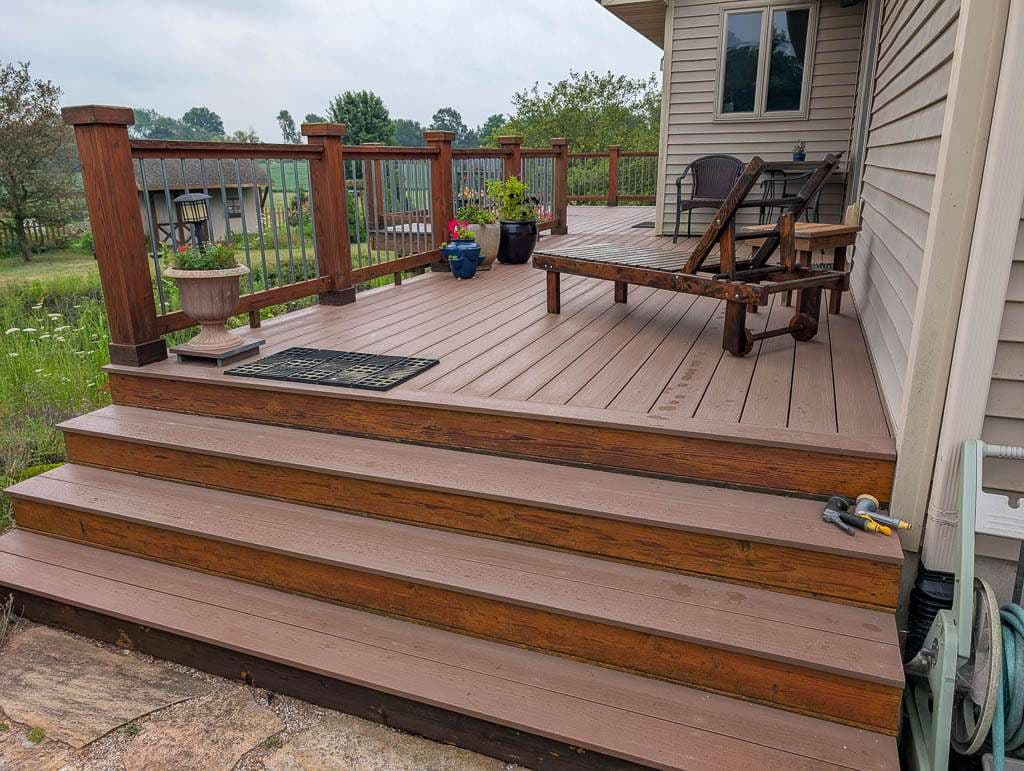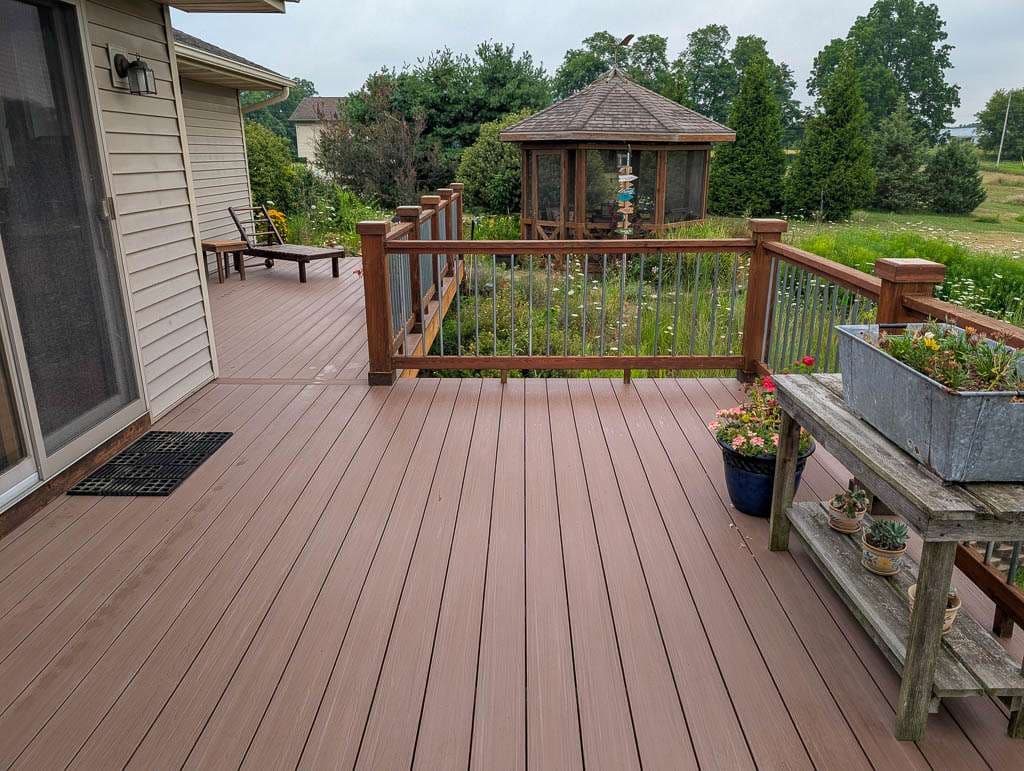

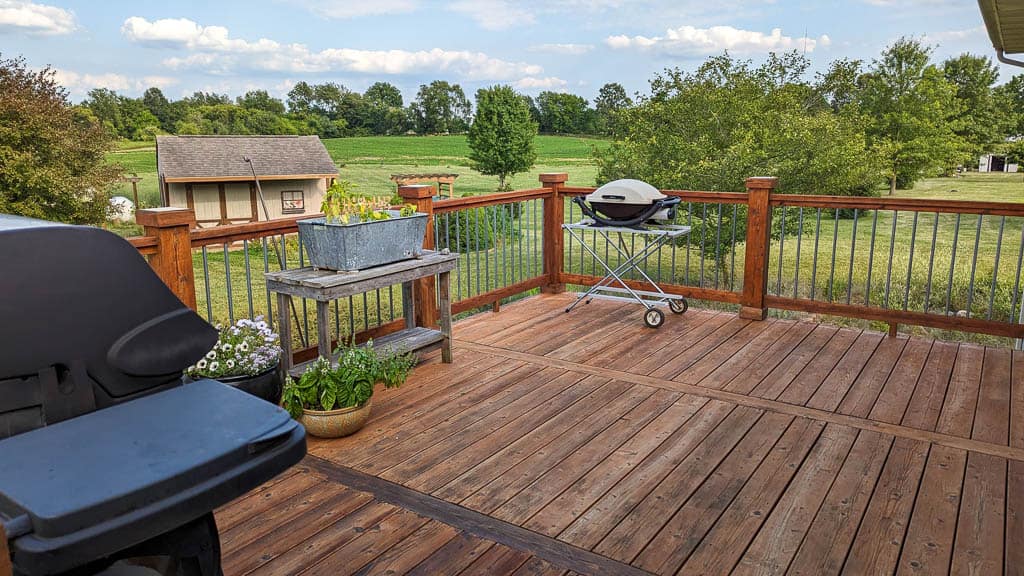
We wanted space for a grill and dining as well as lounging space. And access to the nice view out the back. We landed on a 12×18 section off the main living area connected to a 10×20 section behind the main suite. The section off the main living area holds the grill and a picnic table for dining. The other section has a small table and chairs and a chaise lounge (chaise longue, if we’re being fancy) for, well, lounging. We didn’t want a lot of stairs and were able to design it so that we only had a couple of steps from the deck to the ground.
While we’re happy with the design of the deck, the construction has been problematic.
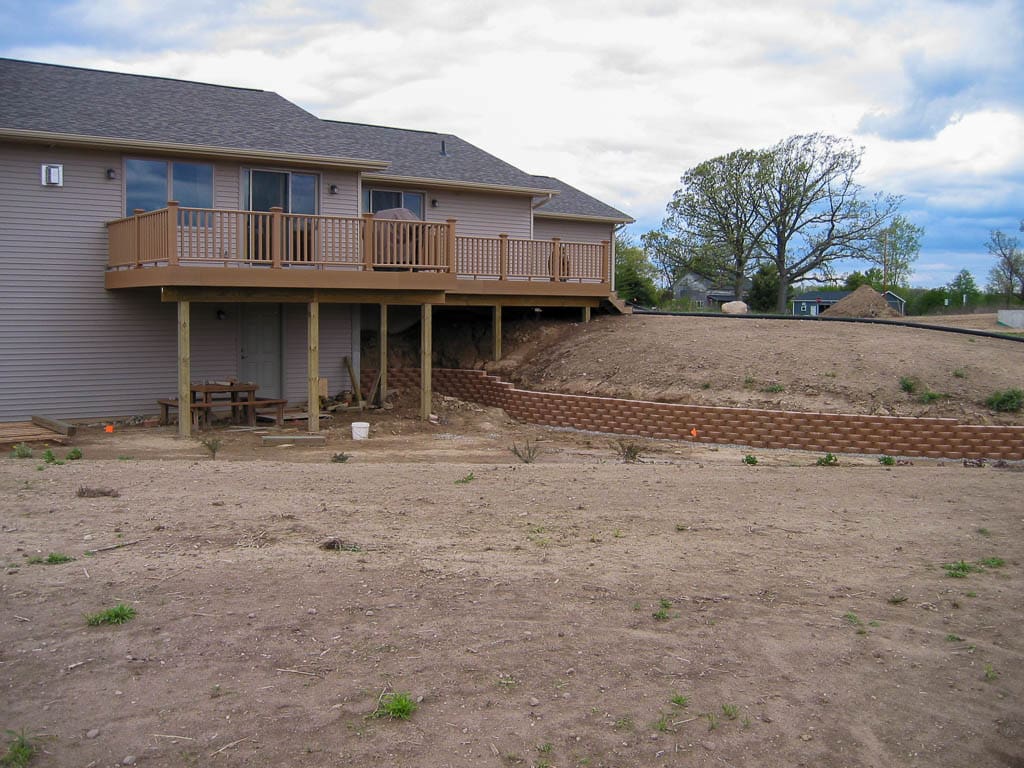
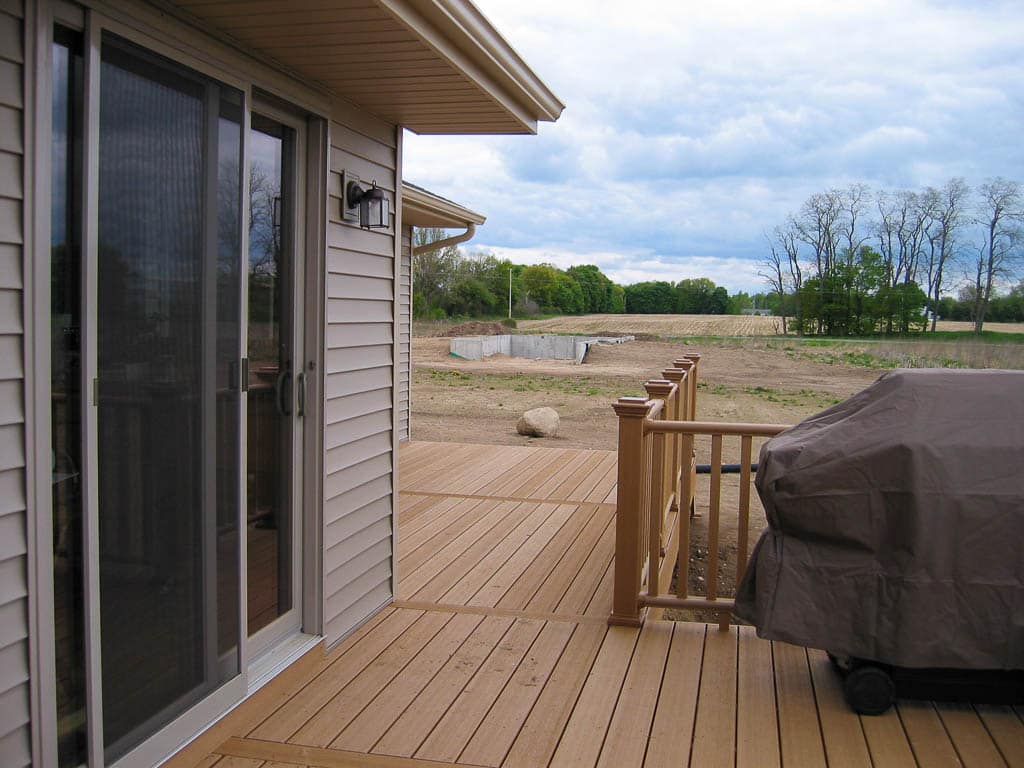
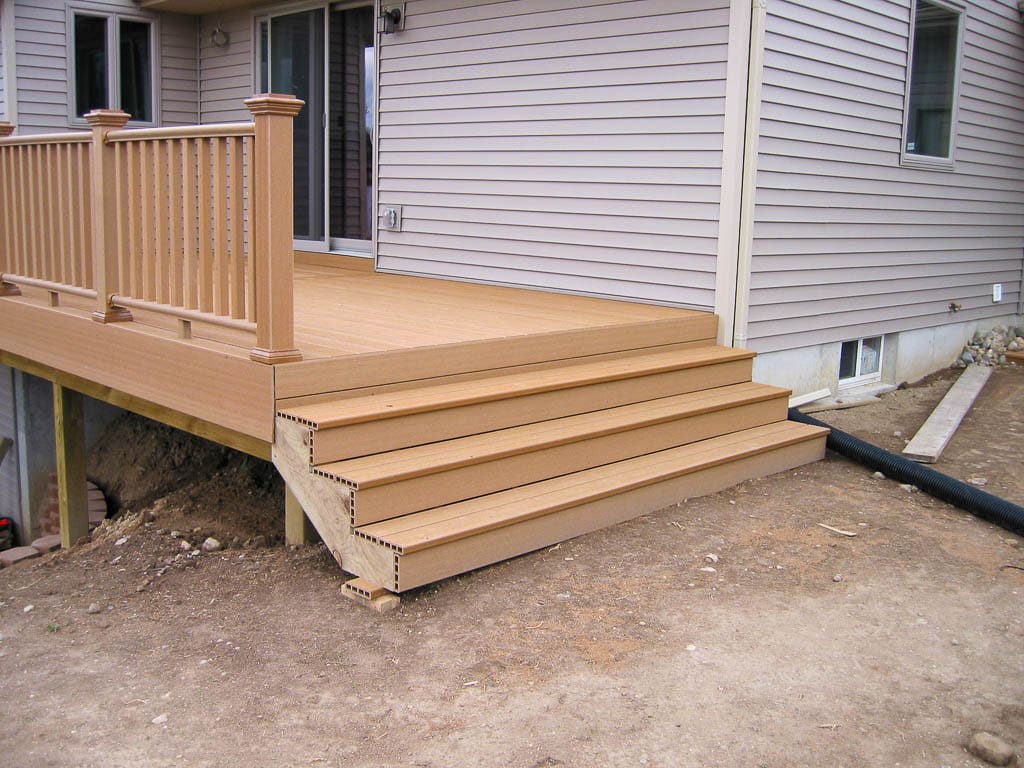
Deck 1.0
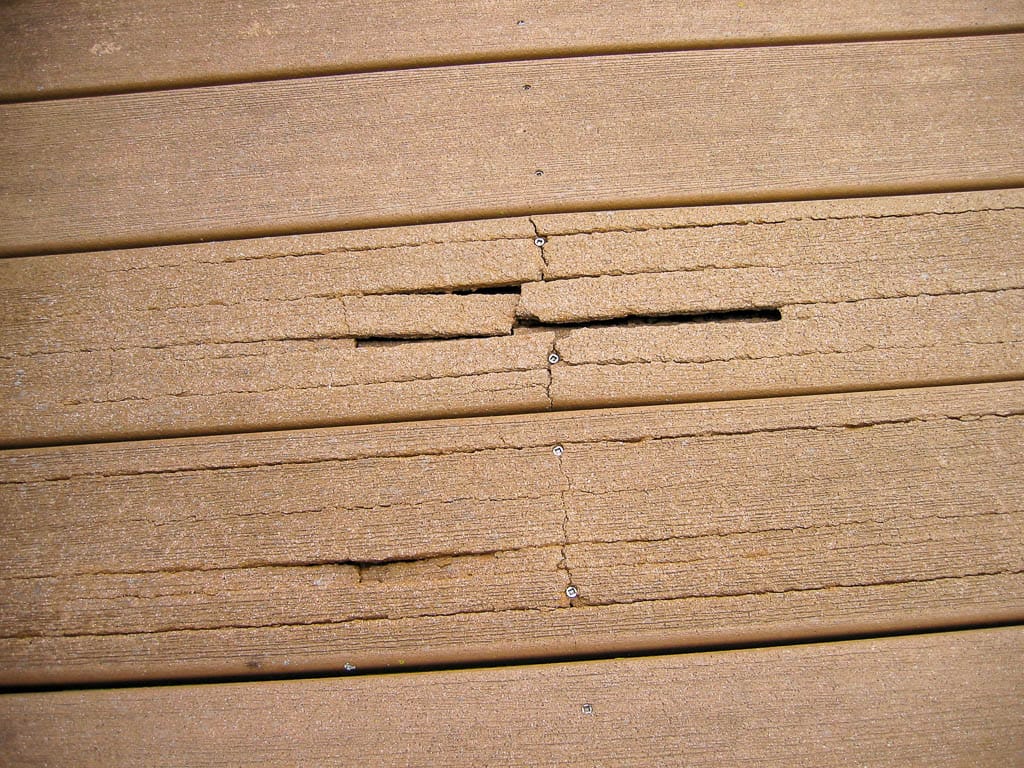
We used a composite decking and railing when we built the deck. Unfortunately the product we chose was defective and decomposed in place. So our lifetime deck only lasted about five years. Thanks to a class-action lawsuit we were able to recoup some of the expense, but we still had to replace the decking and railing.
Deck 2.0
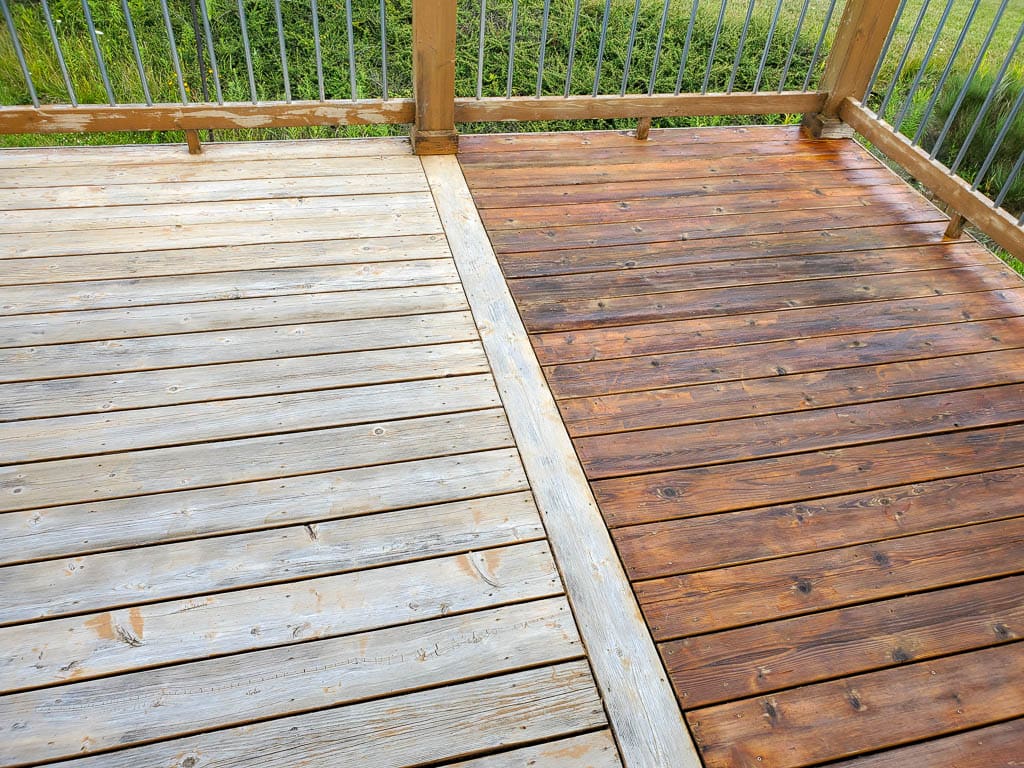
We chose cedar for round two, since our bad experience made us wary of composite decking. We like the look of natural wood so we chose a semi transparent latex stain highly recommended by Consumer Reports to finish the deck. Worse than useless product. Despite following the directions carefully the finish doesn’t even last a year. And it doesn’t fade, it peels, so in order to recoat it you have to completely strip the deck again. After doing that a couple of times — to make sure it wasn’t user error — we decided to get rid of the latex and go back to an oil-based stain. Maybe the stain isn’t as environmentally friendly but it can’t be very good for the environment to strip the deck annually! We waited to see how our first section survived the winter before committing to the rest.
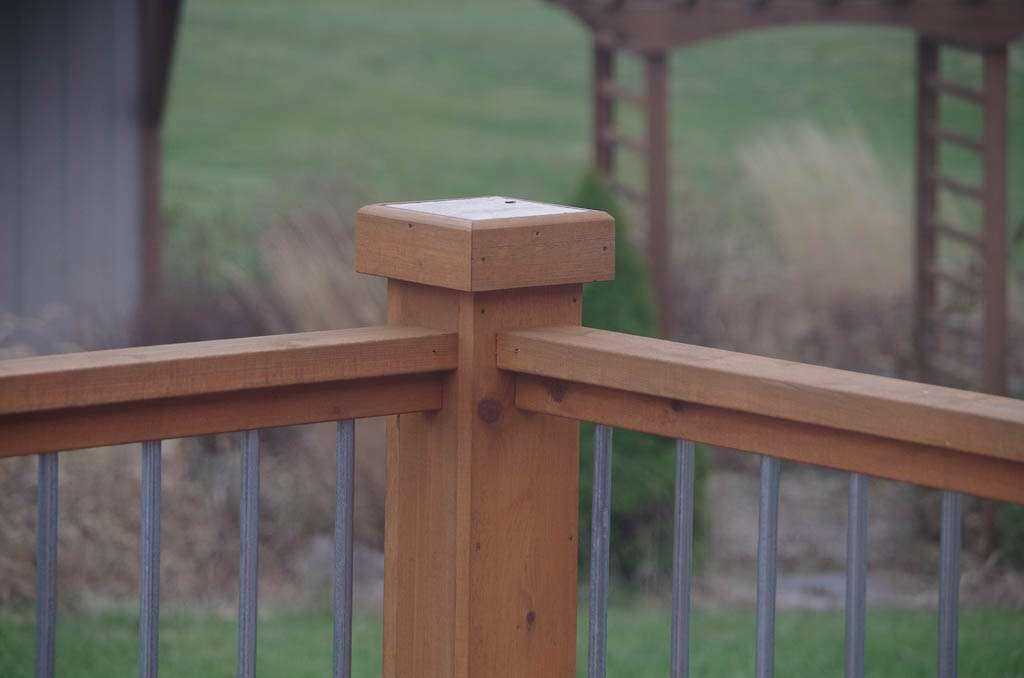
We also changed the railing in round two. We like the look of chunky, Craftsman-style posts but wanted to minimize the spindles to maximize the view. So we used conduit for the spindles. They turned out very well. They’re inexpensive, minimalist, have held up well, and we really like the look. We also wanted to dress up the posts a bit so we inset tile in the post caps. The post caps are also removable. Sometimes in the winter we swap out a regular cap for one that incorporates a bird feeder. The birds make a mess of the deck but it’s fun to watch them.
Our other challenge is with the joists. We used feature strips in the decking design which meant doubling up the joists under those strips. That has led to water getting into and rotting the tops of those joists so we’ll have to repair them. Steve wishes he’d put ice-and-water shield on top of those joists to prevent that problem.
Now that the deck is refinished we’re happy with it again and I’m looking forward to getting the picnic table out of storage next summer.
Deck 3.0
About 15 years later … Some of the joists had reached the point where they needed to be replaced, and many of the deck boards were wearing on the ends. We were tired of refinishing the deck so this round we went back to composite. In this case, the Summit line from Deckorators. Not their top-of-the-line, but the next one down, and also a mineral-based material.
The challenge was getting the deck boards. We ordered them at the beginning of May and they finally arrived on July 3. And the delivery date kept getting delayed a couple of weeks, so we couldn’t plan.
We made a couple of refinements to the structure this round:
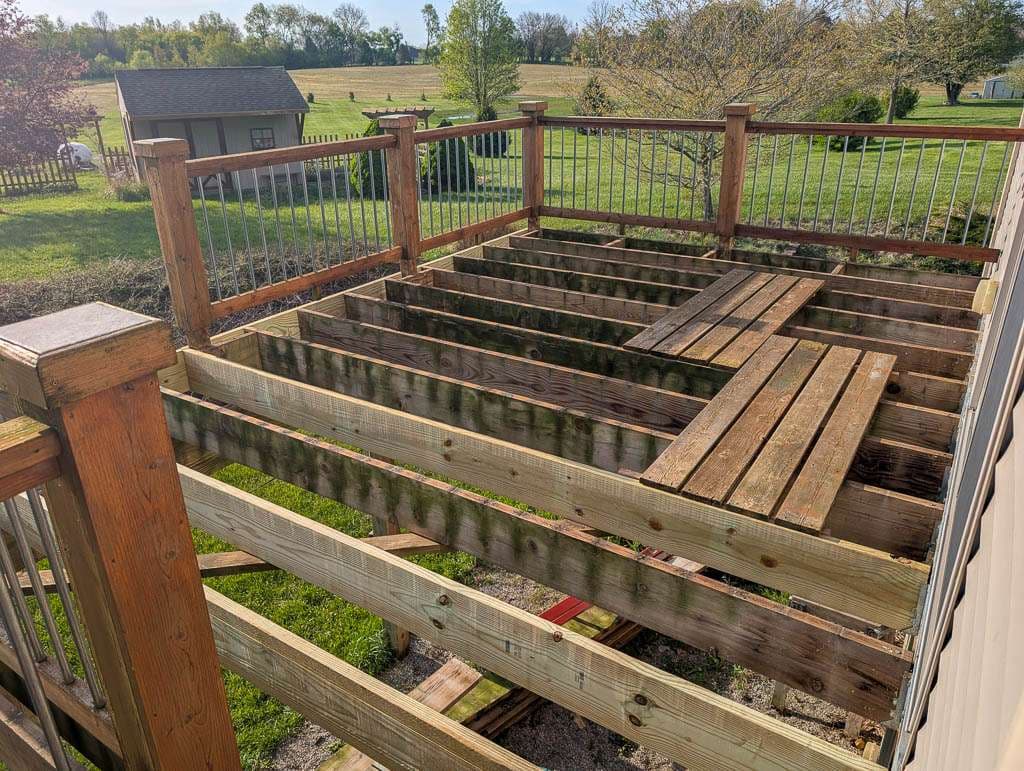
- The original design used feature strips so we could reduce waste on shorter boards. This time we were able to get 20’ lengths so we removed the feature strips and have no seams in the deck.
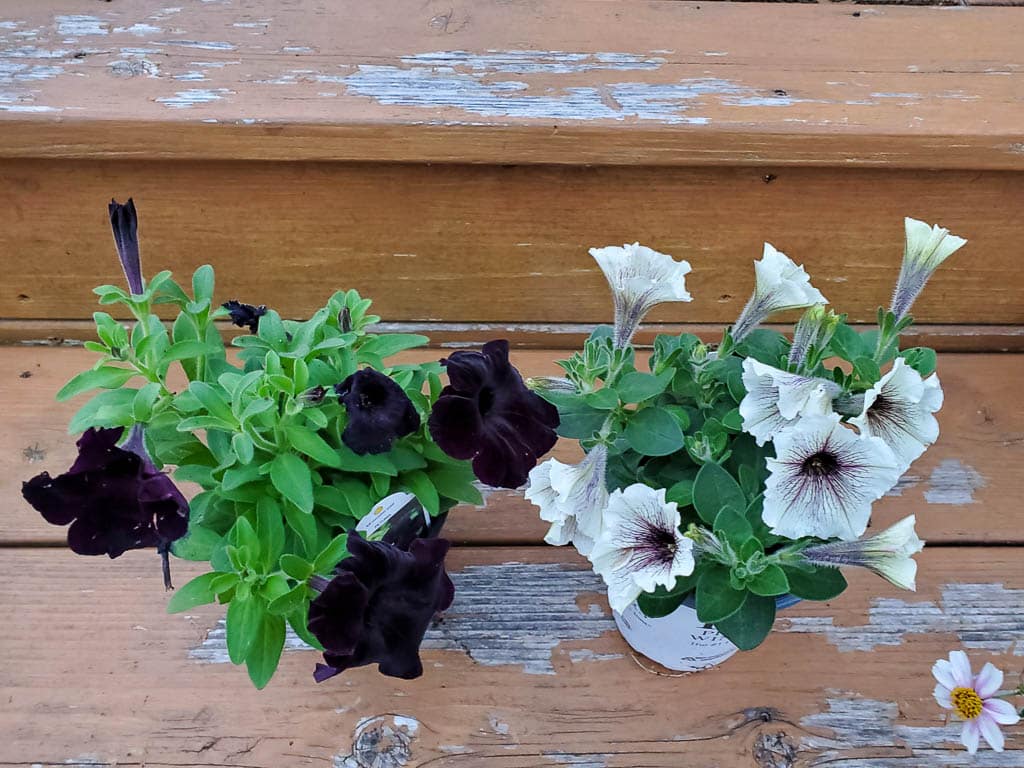
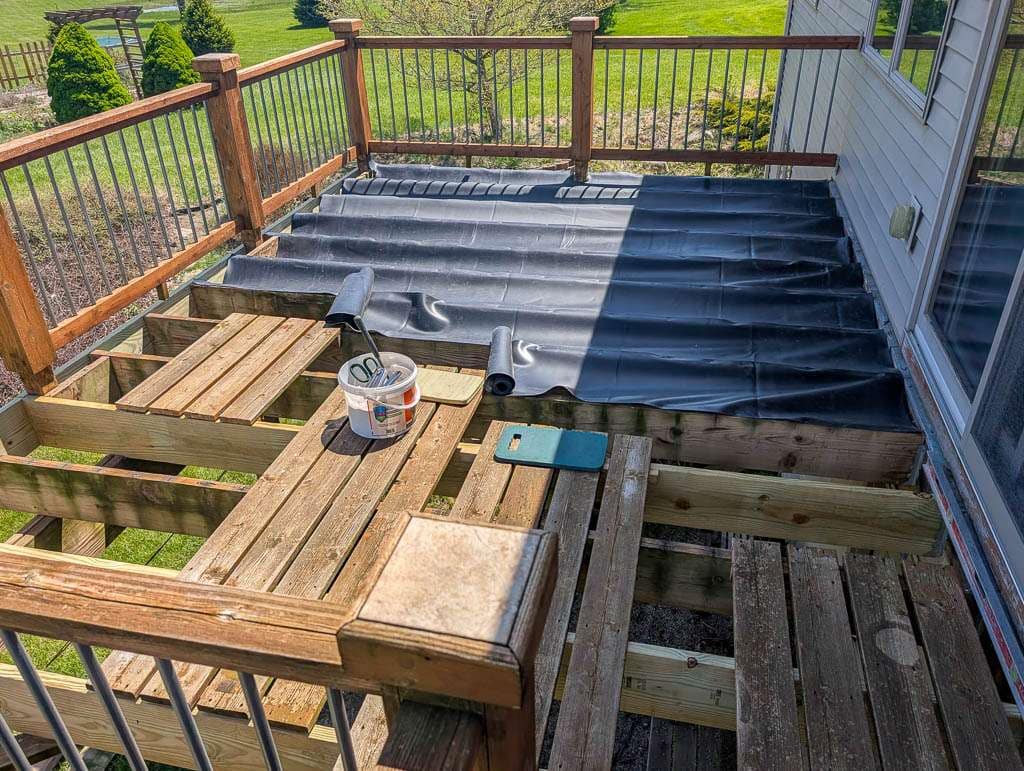
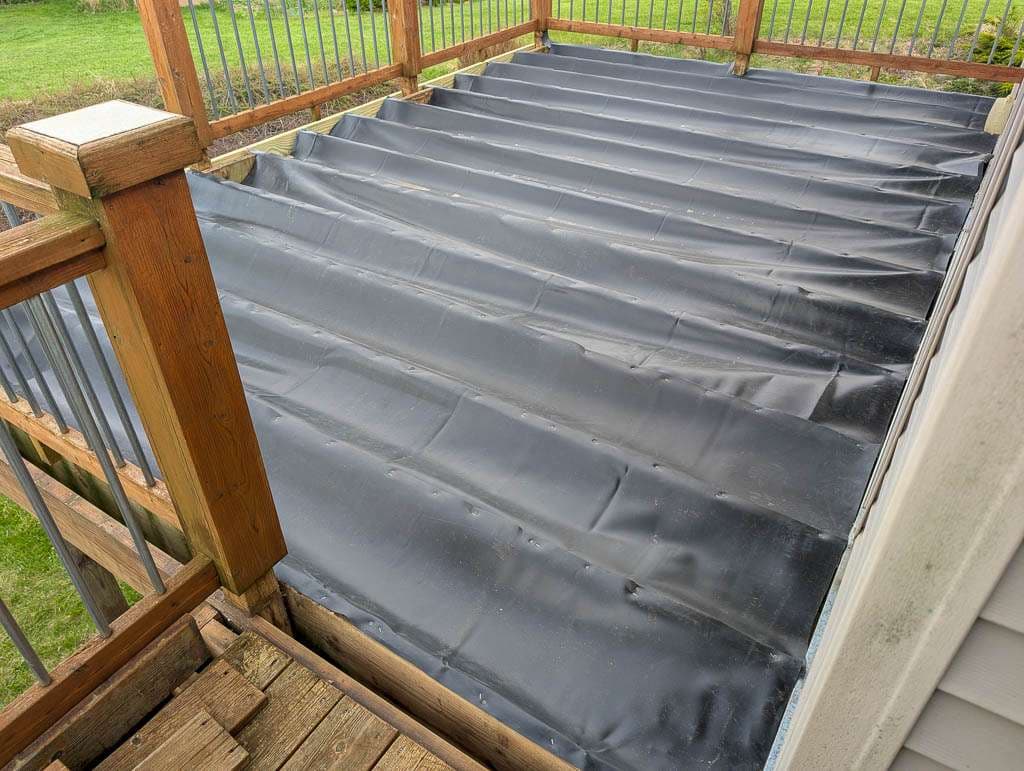
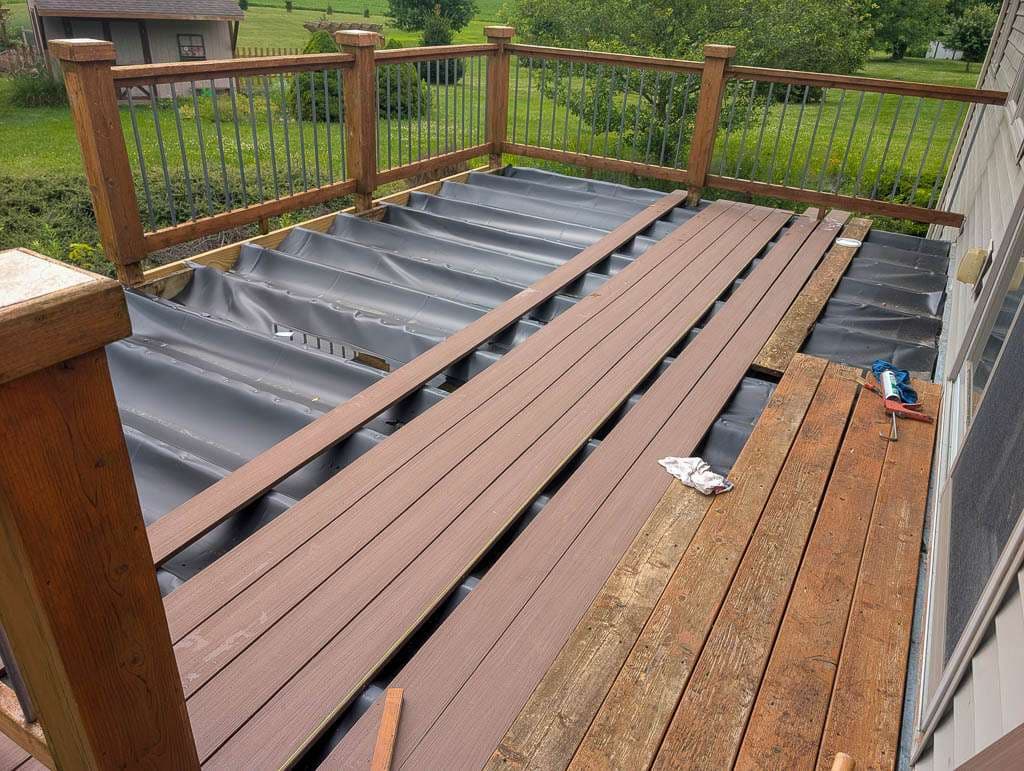
- We waterproofed the section above the walkout. Below the section off the main living area we have an informal “project area” under the deck, where I pot flowers in spring and where we do furniture refinishing, etc. We could have bought a kit to waterproof it, but saved some money by buying a pond liner, cutting it in strips, and attaching it to drape between the joists. (I’m glad Steve can do that math!) That keeps the rain from dripping between the deck boards, and protects the top of the joists. We may add a gutter later.
- We added ice-and-water shield to the tops of the joists where we didn’t waterproof, to keep them from rotting.
Removing the feature strips meant removing some of the doubled-up joists. And some of the joists needed to be replaced, too. That structural work started in May so it would be done when the deck boards arrived. Which meant we were without a functioning deck for about two months. We did leave it cobbled together so we could walk across it. (I keep saying we but this project is all Steve. Other than the odd aesthetic consult and helping wrangle 20′ deck boards.)
Once the deck boards arrived in July we continued with the project. We decided to remove the railings and stain them — they were due for it — so we wouldn’t have to be careful about not staining the new deck.
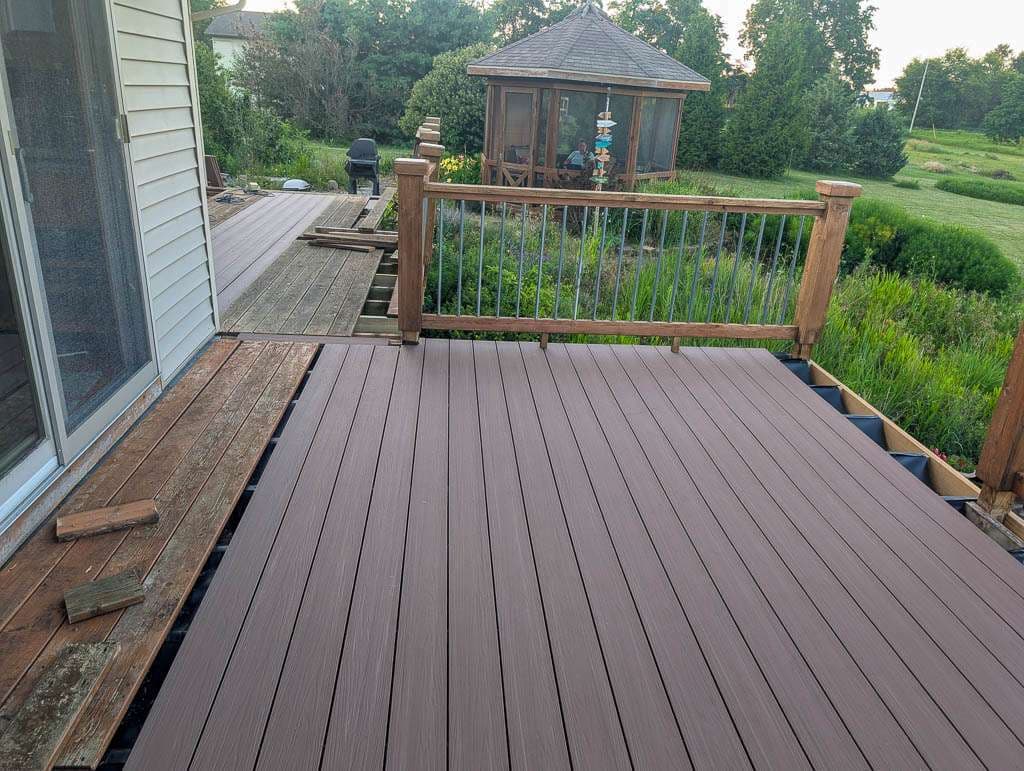
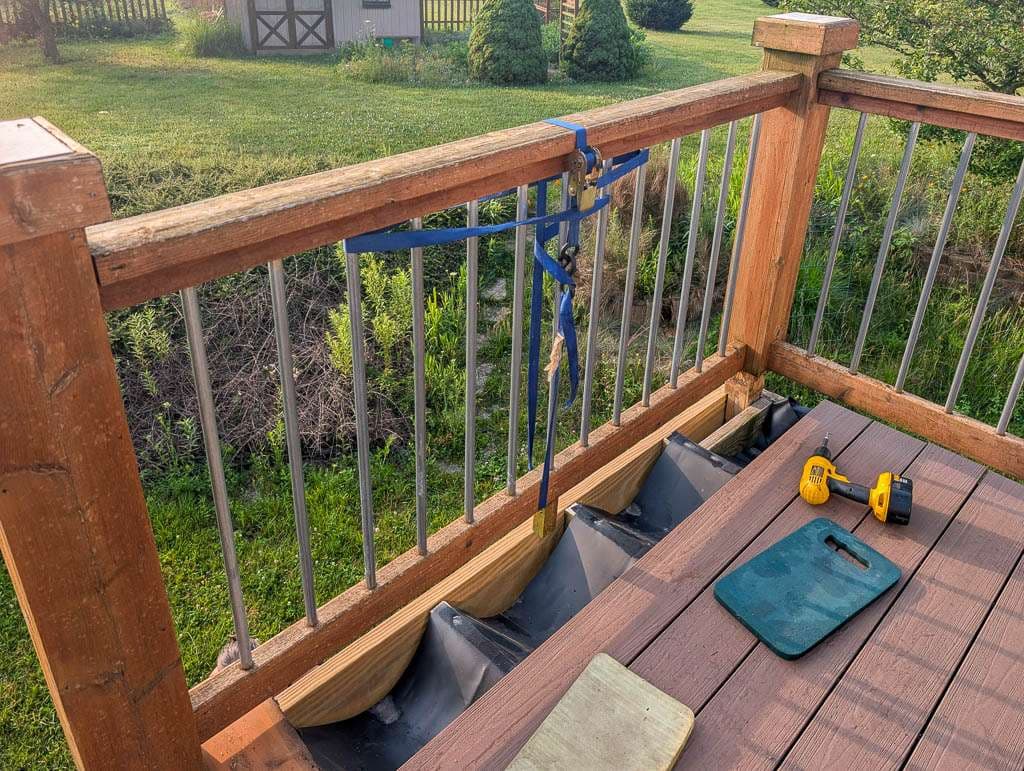
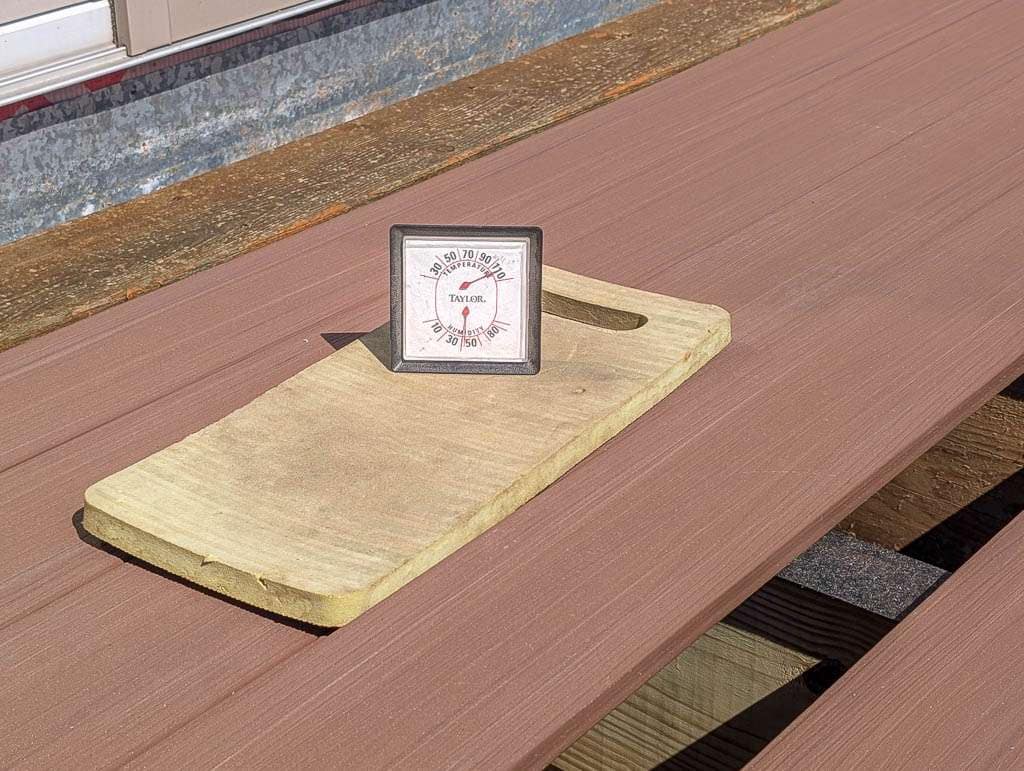
The weather during deck construction was less than ideal. Although it didn’t rain.

The deck is done (again) and I am once again looking forward to getting the picnic table out of storage next summer. (And this time we’ll get a cover for it so it can just stay there!)
As soon as Steve said “it’s all yours” I grabbed the wagon and starting hauling the rest of the furniture and plants and getting everything in place. Then I sat on the chaise and drank some water!